一、执行迁移
在 database/migrations 文件夹中有数据库文件
通过在命令行执行以下命令
php artisan migrate
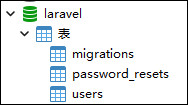
即可完成数据库的操作,下面的执行的结果
Migration table created successfully.
Migrated: 2014_10_12_000000_create_users_table
Migrated: 2014_10_12_100000_create_password_resets_table

如果执行错误了,可以通过命令回滚
php artisan migrate:rollback
执行结果
Rolled back: 2014_10_12_100000_create_password_resets_table
Rolled back: 2014_10_12_000000_create_users_table
重新执行迁移命令
php artisan migrate
可以使用以下命令清除数据表并重新执行迁移
php artisan migrate:refresh
二、创建迁移
可以使用命令创建
php artisan make:migration create_articles_table --create=articles
执行结果
Created Migration: 2023_04_08_180209_create_articles_table
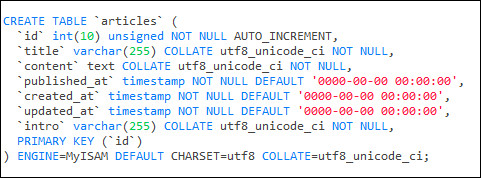
可以在 database/migrations 目录下找到这个文件,修改文件
public function up()
{
    Schema::create('articles', function (Blueprint $table) {
        $table->increments('id');
        $table->string('title');
        $table->text('content');
        $table->timestamp('published_at');
        $table->timestamps();
    });
}
执行命令
php artisan migrate
执行结果
Migrated: 2023_04_08_180209_create_articles_table

三、添加字段
首先创建添加字段的数据迁移文件
php artisan make:migration add_intro_column_to_articles --table=articles
执行结果
Created Migration: 2023_04_08_180831_add_intro_column_to_articles
可以在 database/migrations 目录下找到这个文件,修改文件
public function up()
{
    Schema::table('articles', function (Blueprint $table) {
        $table->string('intro');
    });
}
public function down()
{
    Schema::table('articles', function (Blueprint $table) {
        $table->dropColumn('intro');
    });
}
执行命令
php artisan migrate
执行结果
Migrated: 2023_04_08_181217_add_intro_column_to_articles

如果想要使用 dropColumn 这个方法,需要先下载 doctrine/dbal
composer require doctrine/dbal
 laravel5.1-第5章-migrations


